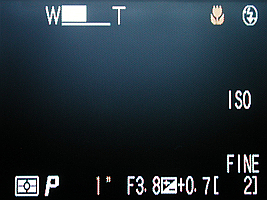
In addition to the Control Panel, the camera also communicates with you through the LCD monitor. In fact, the LCD monitor conveys much more information than the control panel does. The following is a typical monitor screen. Please compare the icons with those discussed in Control Panel.
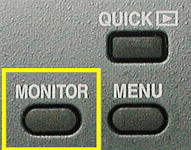
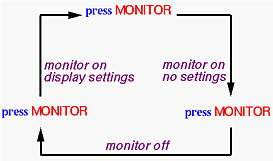
By default, when you turn on the camera, the LCD monitor displays the settings that will be discussed below. Press the MONITOR button to remove these settings. When you want to see the details of your images, this feature is very helpful. Press the MONITOR button again to turn off the monitor for saving battery power. When the monitor is off while the camera is on, pressing the MONITOR button again reactivates the monitor with settings displayed. Therefore, the MONITOR button serves as a 3-way switch as shown below.
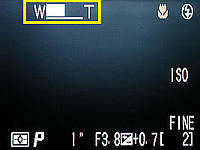
When zoom the lens using the zooming buttons, a scale appears near the top-left corner of the monitor, where W and T indicate wide-angle (38mm, 35mm equivalent) and telephoto (152mm, 35mm equivalent), respectively. The white bar shows the ratio so that you can determine approximately what focal length is being used. In the image below, the white bar stops in the middle which means the focal length is approximately 95 = (38+152)/2.
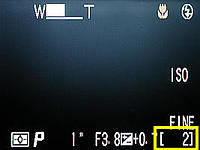
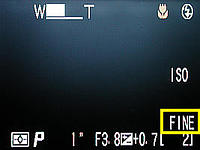
The following images show the "number of exposures remain" and "image quality" settings. The "shots remain" number is in the lower-right corner in a pair of brackets. This number changes after a shot is taken. Its value depends on the image quality and image size, which is shown by the settings above this number. In the right image, only the image quality setting is shown (i.e., FINE). To the left of this quality setting is the image size setting which is not shown in the image below. Please refer to Selecting Image Quality and Image Size for the details.
|
|
| Number of exposures remain | Image quality |
|

|
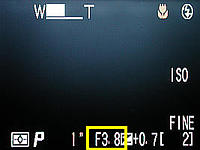
| Aperture value | Shutter speed |
|
|
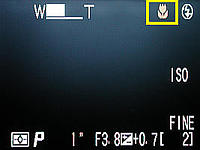
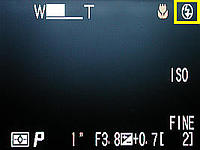
| Focus mode indicator | Flash mode indicator |
The internal, or built-in, flash has five different modes: (1) auto flash, (2) no flash, (3) auto flash with red-eye reduction, (4) forced flash, and (5) slow synchronization. Please refer to The On-Camera Flash for the details. The right image above shows the no flash icon.
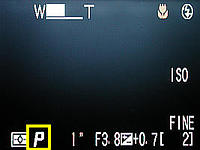
There are four exposure modes: P for the Program mode, A for the Aperture-Priority mode, S for the Shutter-Priority mode, and M for the Manual Exposure mode. The exposure mode is shown near the lower-left corner. The left image below shows program mode P.
|
|
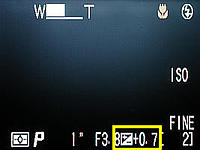
| Exposure mode indicator | Exposure compensation indicator |
Nikon Coolpix 995 permits you to fine tune the exposure of an image by using Exposure Compensation. When exposure compensation is in effect, +/- is displayed next to the "number of exposure remain" setting near the lower-right corner. Next to this is the compensation value in stops. The right image above shows that exposure compensation is in effect, and the compensation value is +0.7 stop.
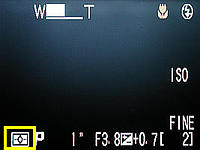
There are four metering modes available: (1) matrix - the default, (2) center-weighted, (3) spot, and (4) spot AF area. The metering method icon is shown in the lower-left corner. The left image below shows the matrix metering icon.
|
|
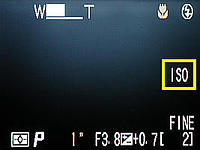
| Metering mode indicator | Sensitivity indicator |
Nikon Coolpix 995 is designed to have a sensitivity equivalent to film speed ISO 100. In the M-REC mode, you can increase this sensitivity (i.e., film speed) to 200, 400, or 800. The sensitivity being used is shown in the middle of the right edge of the monitor. In the A-REC mode, the camera determines the sensitivity to be used (i.e., the AUTO mode). If the illumination is not enough, the camera will increase the sensitivity and displays ISO in the middle of the right edge of the monitor. The right image above shows ISO because the scene is so dark that the sensitivity has to be increased to successfully take an image. Note that this is in the A-REC mode. Details about sensitivity can be found in Sensitivity (ISO Equivalent).