|
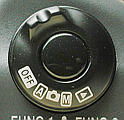
| The mode dial |
|
|
| The mode dial |
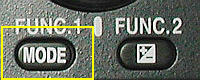
The next step is to select the shutter-priority mode. To do so, hold the MODE button (below left) and turn the command dial (below right).
 |
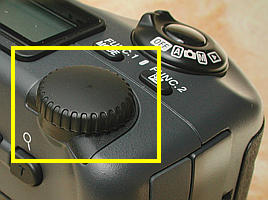 |
| The MODE Button | The Command Dial |
While the command dial is being turned, the letters in the upper-left corner of the control panel and the lower-left corner of LCD monitor will change (see next section). The possible letters are P, A, S and M for the program, aperture-priority, shutter-priority and manual exposure modes, respectively. Once S appears, the camera is in the shutter-priority mode, and you can release the MODE button.
A ReminderShutter speeds are shown as integers on the control panel. So, 125 means 1/125 second, and 60 means 1/60 second. However, if a shutter speed is equal to or longer than one second, it is shown in a form of x". Thus, a shutter speed of 2 seconds is shown as 2". |
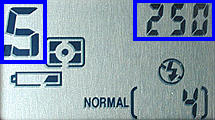
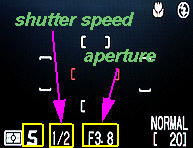
When the camera is in the shutter-priority mode, turning the command dial selects a shutter speed. As the command dial is being turned, a shutter speed value appears on the LCD monitor and the control panel. See the images below. Once the desired shutter speed appears, stop turning the command dial and the camera will use that shutter speed for the next shots . The corresponding aperture also appears on the LCD monitor so that you can determine if the aperture and shutter speed combination is an appropriate one. If the selected shutter speed may cause over- or under- exposure, the shutter speed on the LCD monitor blinks when the shutter release button is pressed halfway down. Should this happen, select another shutter speed and try again. If you are satisfied with the combination, press the shutter release button to take a photograph; otherwise, turn the command dial for a new shutter speed setting.
|
|
| Control Panel | LCD monitor |
The command dial can be turned in either direction: clockwise for slower shutter speed and counter-clockwise for faster shutter speed. If the displayed shutter speed does not change while the command dial is being turned, this means you have already reached the fastest or slowest shutter speed. Turning the command dial will either half or double the shutter speed. Note that if the corresponding shutter speed is longer than or equal to 1/4 second, it is shown in yellow on the LCD monitor to indicate that noise may appear in the recorded image. See the image below.

|
| A yellow shutter speed means noise may occur in the recorded image |
Possible shutter speeds are 8", 4", 2", 1", 2, 4, 8, 15, 30, 60, 125, 250, 500, 1000, 2000. Thus, the fastest and slowest shutter speeds are 1/2000 sec and 8 seconds.
You can also use Exposure Compensation to increase or decrease exposure.
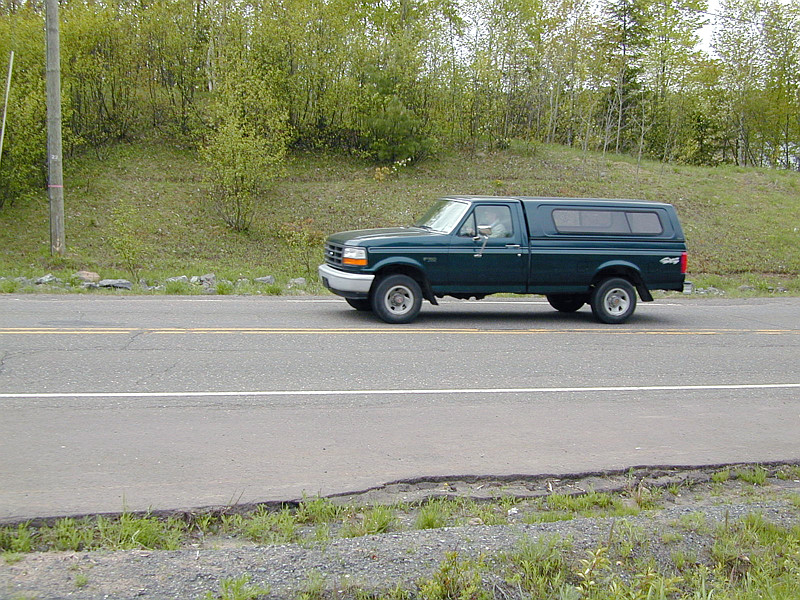
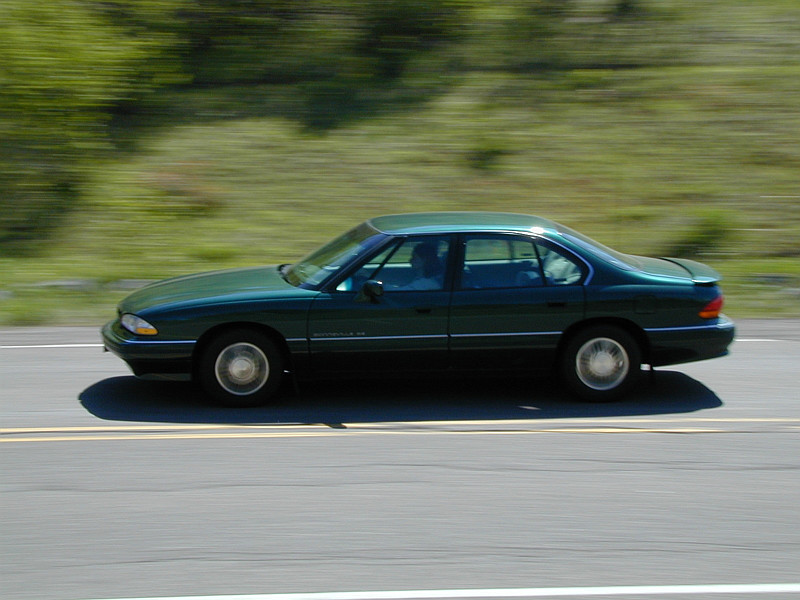
In the images below, the left one was taken with shutter speed 1/250 second. The vehicle is frozen as if it parks in the middle of the road. The middle image was taken with shutter speed 1/30 second. Motion blur shows a moving vehicle. The right image was taken with 1/4 second and ND4 plus ND8 Neutral Density Filters. The resulting image is under-exposed and has to be corrected with PhotoShop. But, the motion blur effect is much better than that of the middle one. Note that the background is sharp, indicating that the camera was fixed at a location without any movement.
|

|

|
| 1/250 sec | 1/30 sec | 1/4 sec |
| Click on the icon to see a larger image | ||
To show the motion of a subject, we can also pan the camera! That is, the camera moves in the direction of the subject. Thus, the subject will be sharp in the image, but the background and foreground become blurred. The following are examples. The moving subjects seem frozen, but the background is blurred.
|
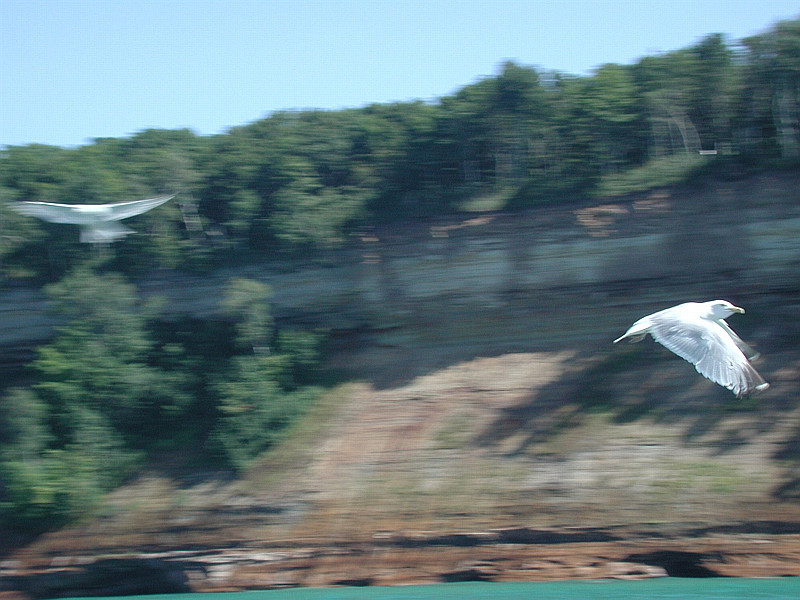
|
| Click on the icon to see a larger image | |
While stopping the action with a faster shutter speed looks amazing, sometimes motion blur created by a slower shutter speed also shows a sense of motion. The following are two more examples. The right image, which was taken with a slow shutter speed (i.e., 1/9 sec), gives us an impression that water is actually pouring down.
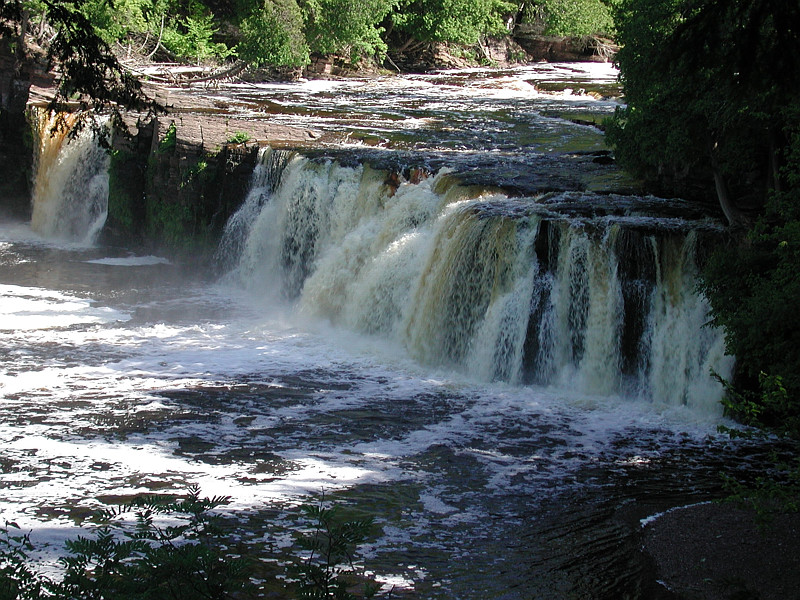
|
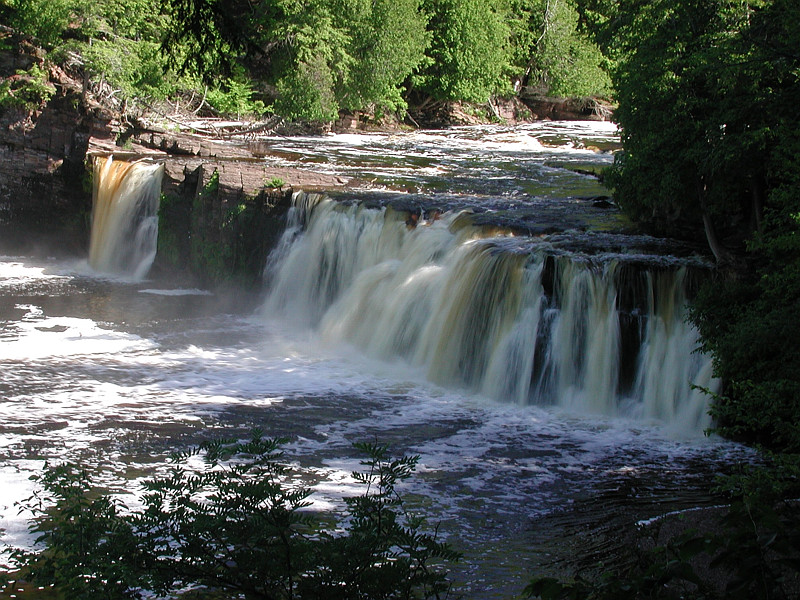
|
| F3.9 and 1/60 sec | F10.3 and 1/9 sec |
| Click on the icon to see a larger image | |
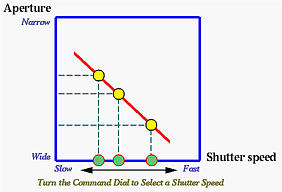
As discussed in Exposure Value: EV, when the shutter release button is pressed, the camera meter measures the incoming light and determines an EV (i.e., exposure value). In the shutter-priority mode, turning the command dial causes the shutter speed to change, which, in turn, determines an appropriate aperture. This is shown in the figure below.