 |
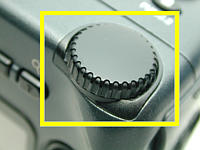 |
| The +/- button | The command dial |
In many extreme situations, you perhaps should not trust the exposure information provided to you by the camera exposure meter. In these cases, you need to use Exposure Compensation for exposure adjustment. This can be done easily with the +/- button on the top panel and the command dial:
| |
|
| The +/- button | The command dial |
Press the +/- button while turn the command dial to increase or decrease the compensation level. Coolpix 990 permits a 1/3 stop increment/decrement. More precisely, turning the command dial clockwise (resp., counter-clockwise) increases (resp., decreases) the compensation level in +1/3 stop (resp., -1/3 stop). The range of the compensation level is from -2 stop to +2 stop. The bottom of the LCD monitor displays the current compensation level. See images below. Moreover, press the +/- button to display the current compensation level on both the control panel and the LCD monitor. The compensation values are rounded and, as a result, the displayed values are -2.0, -1.7, -1.3, -1.0, -0.7, -0.3, 0.0, +0.3, +0.7, +1.0, +1.3, +1.7 and +2.0. Therefore, with the current setting of aperture and shutter speed, we still have plus-minus 2 stops for fine-tuning exposure.

|

|

|
| No compensation | +1.3 stop | -0.7 stop |

|
| Control panel: +0.7 stop |
A ReminderIn A-REC, turning the camera off or switching to other modes resets the compensation level. However, in M-REC the compensation level will be "memorized" even the camera is turned off or switches mode. Thus, to reset, you have to set the level to 0.0-stop. |
A camera's exposure meter is always calibrated at the so-called middle gray level, which means the gray color that is between complete white and complete black and reflects 18% of the incoming light. When you point your camera at your subject and take a meter reading, the meter will consider the intensity of light being read as middle gray. This creates problems!
Suppose most areas in your scene is white, say snow covered. The exposure meter will treat that white area as middle gray. When you take your shot, the white area looks grayish. The image below shows a snow covered area, and, as a result, the camera exposure meter considers this white area being middle gray if no compensation is applied. So, the snow covered area looks grayish.

|
|||
| No Compensation | |||
| Click on the icon to see a larger image | |||
Because the exposure meter treats white as gray in the image, to make a gray color a white one, we need to increase the exposure with the +/- button. The first image below is taken by setting the compensation level to +2/3 stop. As you can see, the snow covered area is not so gray. Increasing the compensation level to +1 stop, the snow looks even whiter as shown in the second image. You can increase the compensation level to other value to get a more realistic looking snow scene.

|

|

|

|
| +2/3 stop | +1 stop | +1 1/3 stop | +1 2/3 stop |
| Click on the icon to see a larger image | |||
On the other hand, if a scene contains a dominating black subject (e.g., black cat, ;-)), the camera exposure meter will consider this black subject a middle gray one. Hence, the black subject will be over-exposed as shown in the first image of the top row below. To overcome this problem, we need to decrease the exposure so that black subjects look black. The following shows a sequence of images taken with negative compensation. These images show that as the exposure decreases, the black camera looks darker and the over-exposed background starts to show details.
|

|
|

|
| No compensation | -0.3 stop | -0.7 stop | -1.0 stop |
|
|
|
| -1.3 stop | -1.7 stop | -2.0 stop |
| Click on the image to see a larger one | ||
In general, if your subject is bright, you perhaps need to increase the compensation value so that the bright area looks white. On the other hand, if your subject is dark, you should decrease the compensation level to make the subject darker.
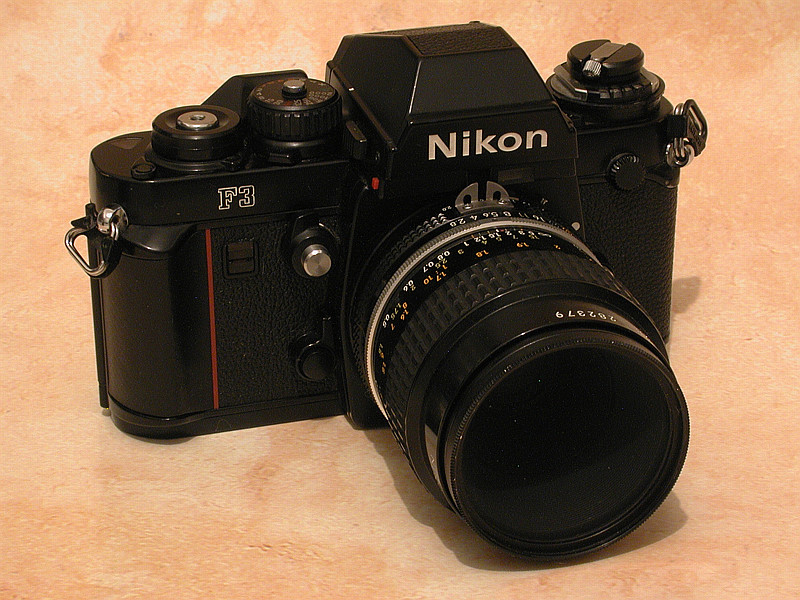
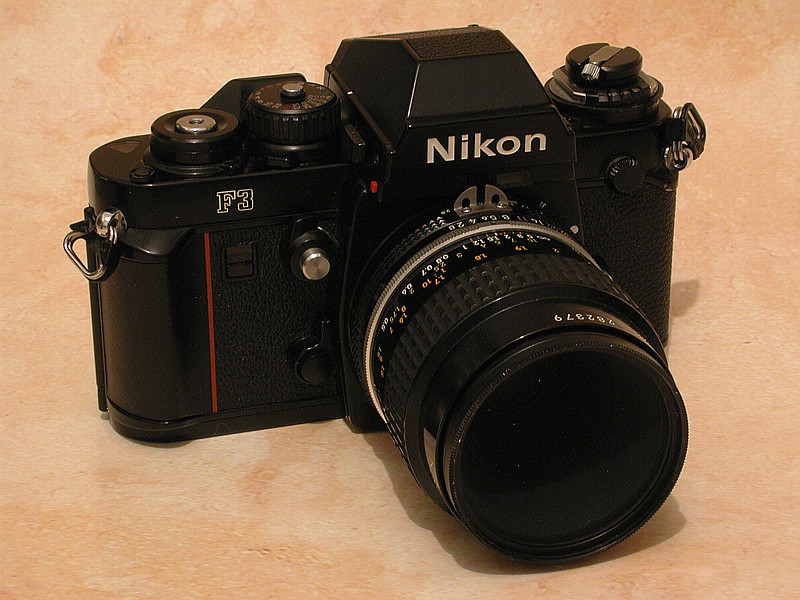
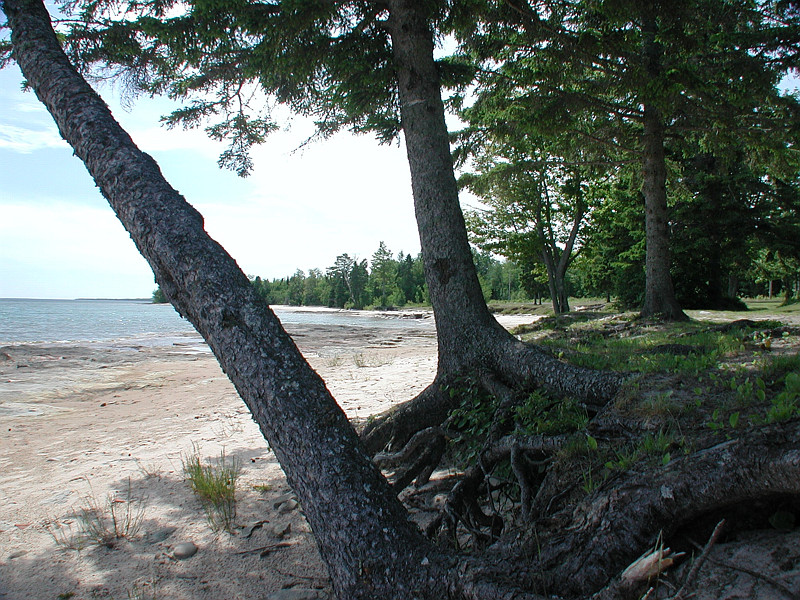
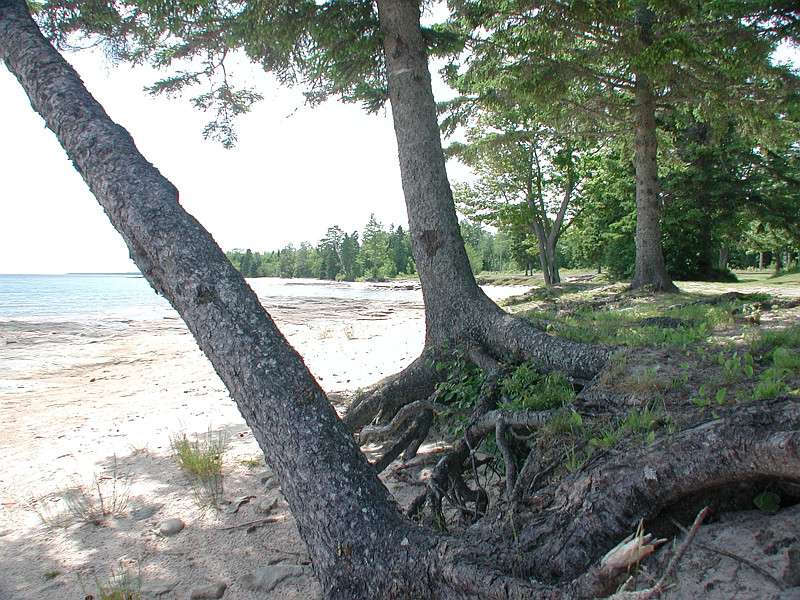
The most commonly seen situation is backlighting. That is, the light sources are behind your subjects (i.e., your camera points at light sources). In this situation, the subjects are not illuminated by the light sources and hence look dark. The left image is an example. Because we need to emphasize the subjects rather than the background, exposure has to be increased to show the details of the subjects. Thus, I chose to increase exposure by one stop and obtained the right image below. Now the details can be seen clearly.
|
|
| No compensation | +1 stop |
| Click on the icon to see a larger image | |
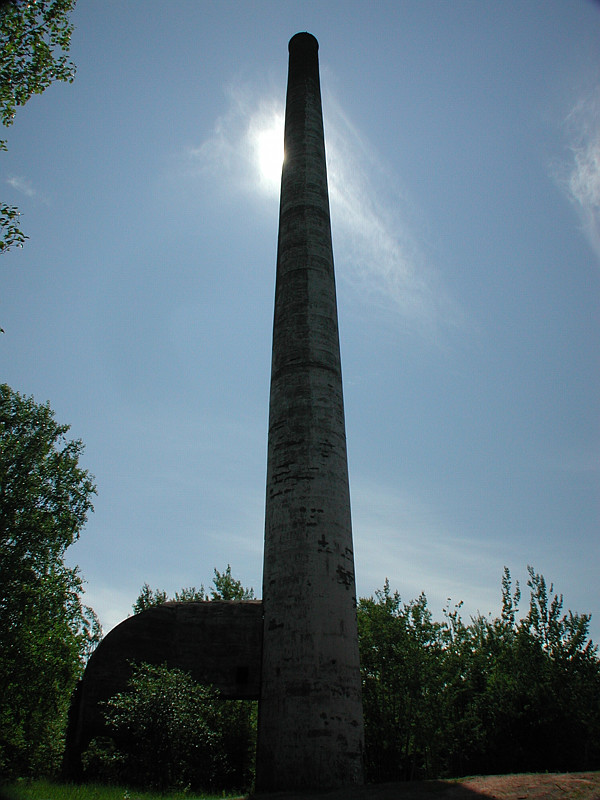
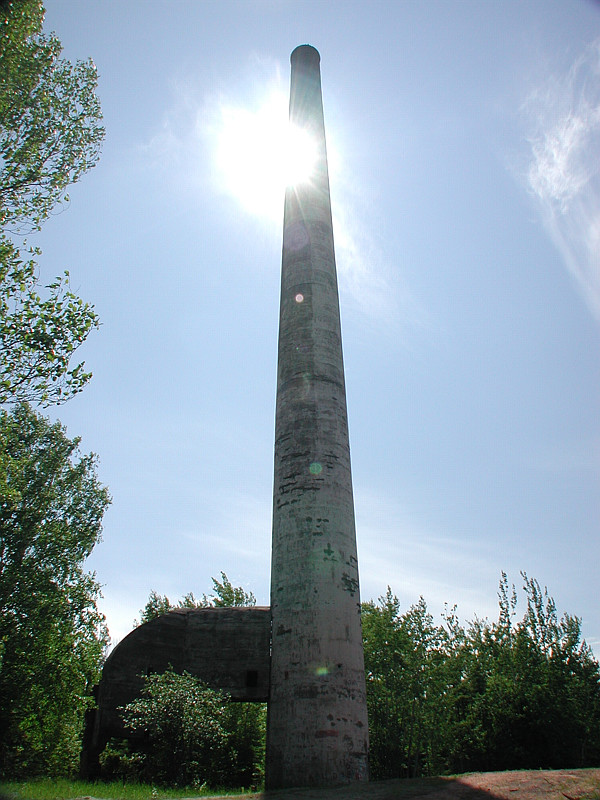
Another frequently encountered situation looks like the left image below. This scene contains two areas, one in the shadow and the other under strong sunlight. It is a challenging situation for an on-camera meter, and, as a result, the background (light) area may be exposed correctly while the foreground could become too dark. Should this happen, the use of exposure compensation is a better strategy. The middle image was taken with a 2/3 stop increase, while the right one has 1 1/3 stop. Note that the middle one has a better balance than the right one because it preserves the background and includes foreground details. The right one exposes the foreground very well, but the background is washed out.

|
|
|
| No compensation | +2/3 stop | +1 1/3 stop |
| Click on the icon to see a larger image | ||
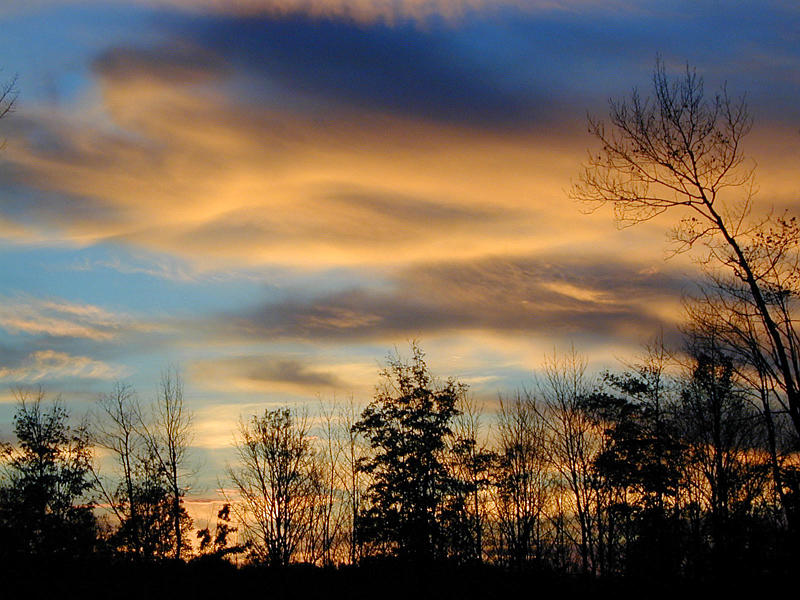
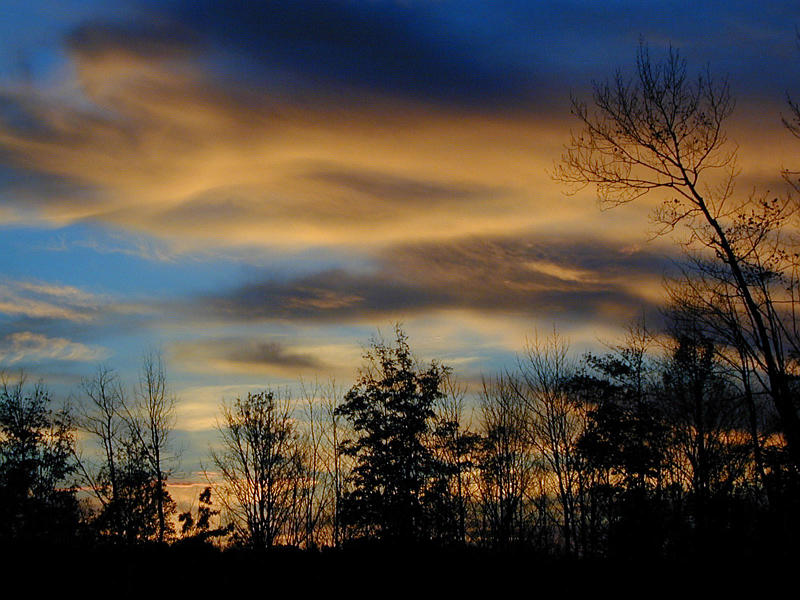
It is really difficult to answer this question, because it depends on your artistic point of view. An exposure value you like may not be a good one from a different point of view. The following shows three images taken about the same time. The left one has no compensation. But, I know I would get an over-exposed image without some of the (color) details if I increase the compensation level. Therefore, I did not even try to increase the compensation level. The middle and the right images have -0.7 and -1.7 stop decrements, respectively. So, the one you like most has "the" correct exposure!

|
|
|
| No Compensation | -0.7 stop | -1.7 stop |
| Click on the icon to see a larger image | ||